To Enlarge:


To enlarge the picture, just click on the actual photo and it will be MUCH bigger! (I just figured this out!)

Monday, July 14, 2014

Burp Cloth Tutorial for Erin and Kerry

When purchasing the diapers, you want the 3 ply prefold, not the 6 ply, way too thick! Walmart is the cheapest source.
Measure length and add 2 inches to that.

Measure the width of the center thick portion and add 1 inch to that.


Fold over 1/2 inch on each side along the length and press flat.

Lay the fabric right side down on the diaper and line up each end of the fabric with the ends of the diaper, centering it on the thick part.  Once they are pinned, this will not be laying flat, but will have slack in the middle.  You will understand why as it goes.

Stitch just to the left of the diaper hem, maybe 1/4 inch in.  You can see it is kind of lined up with the edge of the zipper foot. 


Here you can see what I mean about the slack.  This is correct.
Now you will flip it right side out, which will fold the ends that you just stitched under the back of the diaper/burp cloth.


Flip it over and stitch the ends from the back side, just at the edge of the fabric.  Note that the slack of the fabric enables it to flip around to the back while leaving the diaper edge flat with not folding.  If this does not make sense, message me! LOL!
Here you can see the finished edge.


Now flip back over to the front and pin then stitch the lengths, just inside the edge of the fabric.

Please message me on fb if something isn't clear and needs clarification!
Happy sewing!
 

Saturday, January 4, 2014

Making a Valance

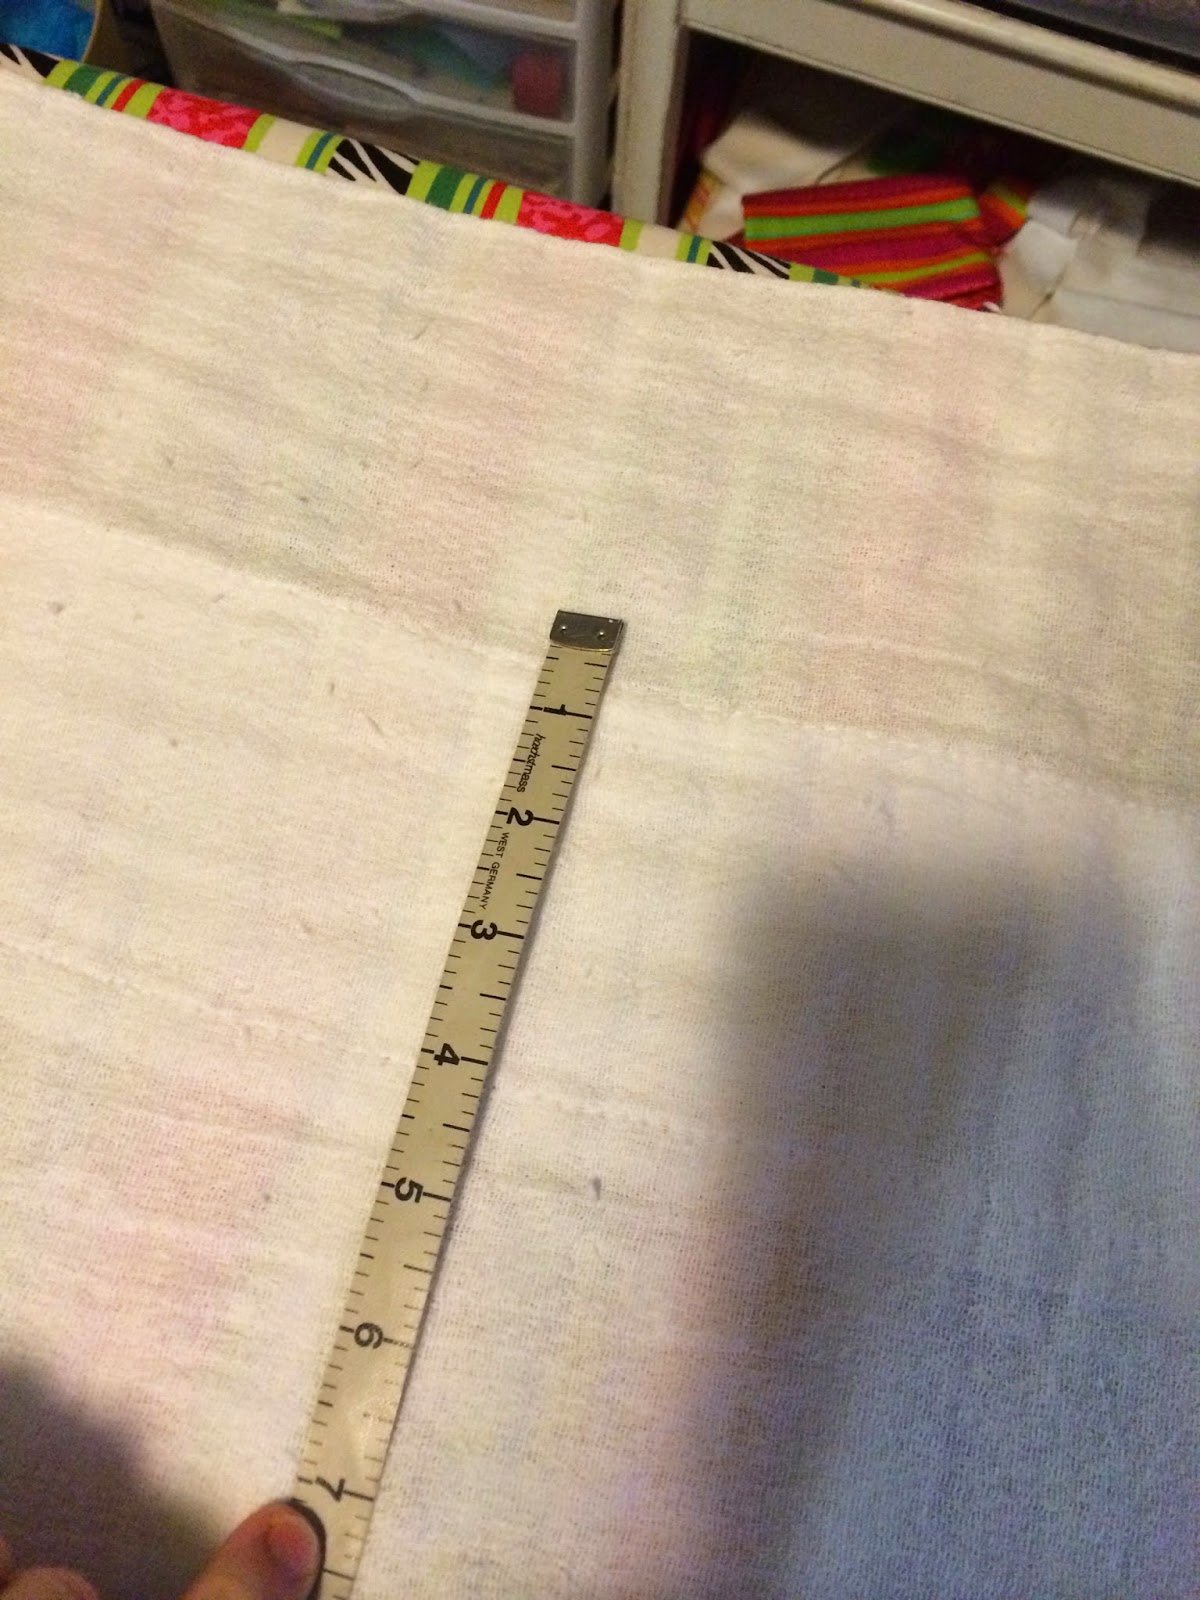
 Okay, so you need to measure the place where the valance is going to hang. For example, mine was 145 inches total, going around the corner, etc.  I wanted my finished length to be 6 inches.  So I cut the green and red strips 2 inches and the apple fabric was cut 6 inches.  I used 1/2 inch seam allowances.
 For the bottom strip, first sew it like this, with the right side of the strip to the wrong side of the main fabric.


For the top fabric sew them right sides together.


Then press all the seams open.  With the bottom strip, press a 1/2 inch over like it is here to the right.


Then fold the bottom strip up and top stitch it.


Above my window, I have this little shelf type thing and I nailed a half strip of velcro along the whole little shelf.


I hemmed each end of the valance and then on the back side of the top strip, I folded it down and then zig zagged a half strip of the other velcro all along this.  You can see I put it just about 1/4 inch below the top of the fabric.

I hope this kind of makes sense.  Please ask questions if it is not very clear.

Saturday, March 3, 2012

Kitchen Fun!

It is always nice to have some cute and cheery kitchen towels and dishcloths to make your work more, shall we say "pleasurable"! So I have created these microfiber dishcloths and coordinating kitchen towels!


Backed with microfiber to make them quick-drying!

Coordinating kitchen towels.

Friday, February 10, 2012

Yet Another New Set Of Fabrics


Perfect colors to eyeball and dream about on this cold and rainy day!

Wednesday, February 8, 2012

Blocks All Finished!

Here are the finished blocks! It is looking so cool and my sweet customer said it was even better than she had imagined! So glad!!

Saturday, February 4, 2012

Another New Set Of Fabrics

The newest quilt is one commissioned by a friend for her son.
Wonderful warm BOY colors!!
Excited to get started!!!

Tuesday, January 31, 2012

Newest Quilt


Here is my newest quilt. I am hoping to sell this one! I fell in love with the fabric and had been wanting to make a quilt with the pinwheels pattern since I have started quilting. Fabric and pattern seemed like the perfect match!! Such a happy looking quilt!